Free File Compressor: Shrink Images, PDFs and Videos Without Software
What a browser-based compressor can do for each file type, and what to expect from the results.
Read guideFile reducer JPG settings decide whether a photo shrinks from several megabytes to a few hundred kilobytes or turns into a soft, blocky picture. JPG was designed for exactly this trade, because small changes in quality remove detail that eyes barely notice while cutting a large share of the bytes stored on disk.
The sections below explain why JPG photos grow so large, which quality values suit common uses, when resizing beats lowering quality, and how to reach an exact limit such as 100 KB or 200 KB with the File Reducer image compressor.
Phone and camera photos often hold 12 megapixels or more, and many devices save them at a very high JPG quality to protect fine texture. That combination is great for printing or heavy editing, but it is far more data than an email, a web page or an upload form actually needs.
File size grows with two things: the number of pixels and the amount of detail the encoder tries to keep. Busy scenes such as foliage, gravel or crowds cost more bytes than clear skies or plain walls, which is why two photos with identical dimensions can differ in size by several megabytes.
A JPG encoder splits the picture into small blocks and describes each block as a mix of smooth patterns. The quality value controls how precisely those patterns are stored. High quality keeps fine variations, while lower quality rounds them off, which removes detail that is hard to see at normal viewing size.
Colour information is usually stored at a lower resolution than brightness, because human vision is more sensitive to light and dark than to small colour changes. These two techniques together explain why a JPG can often lose more than half of its size with no obvious difference on a phone or laptop screen.
No single number fits every photo, but the ranges below give a dependable starting point. Begin in the middle, compare the preview with the original, and only move lower when the size is still above your limit.
| Quality range | Typical look | Good for |
|---|---|---|
| 85–95% | Visually identical to the original in most cases | Portfolios, printing at home, archiving a lighter copy |
| 70–84% | Very close to the original at normal viewing size | Websites, blogs, email attachments, cloud sharing |
| 50–69% | Slight softening in fine textures | Upload portals with strict limits, chat apps |
| Below 50% | Visible blocks and colour banding | Thumbnails or cases where size matters most |
Compression damage usually shows up around sharp edges, in smooth gradients like skies, and on small text. When checking a result, zoom into those areas first. If they still look clean, the rest of the photo will look fine too.
Lowering quality is only half of the toolbox. When a photo will be shown at 1200 pixels wide, keeping all 4000 pixels wastes space no matter how well it is compressed. Halving both width and height leaves a quarter of the pixels, which usually cuts the file size dramatically while keeping the picture sharp at its real display size.
The File Reducer image compressor has a Max width or height field for this purpose. Enter the longest side you need and the image is scaled down in proportion during the same step, so there is no need for a separate editing program.
The whole process runs in your browser, so the photo never leaves your device. Open the Image tab at the top of the homepage and drop one or more JPG files onto the upload area, or tap it to browse your folders.
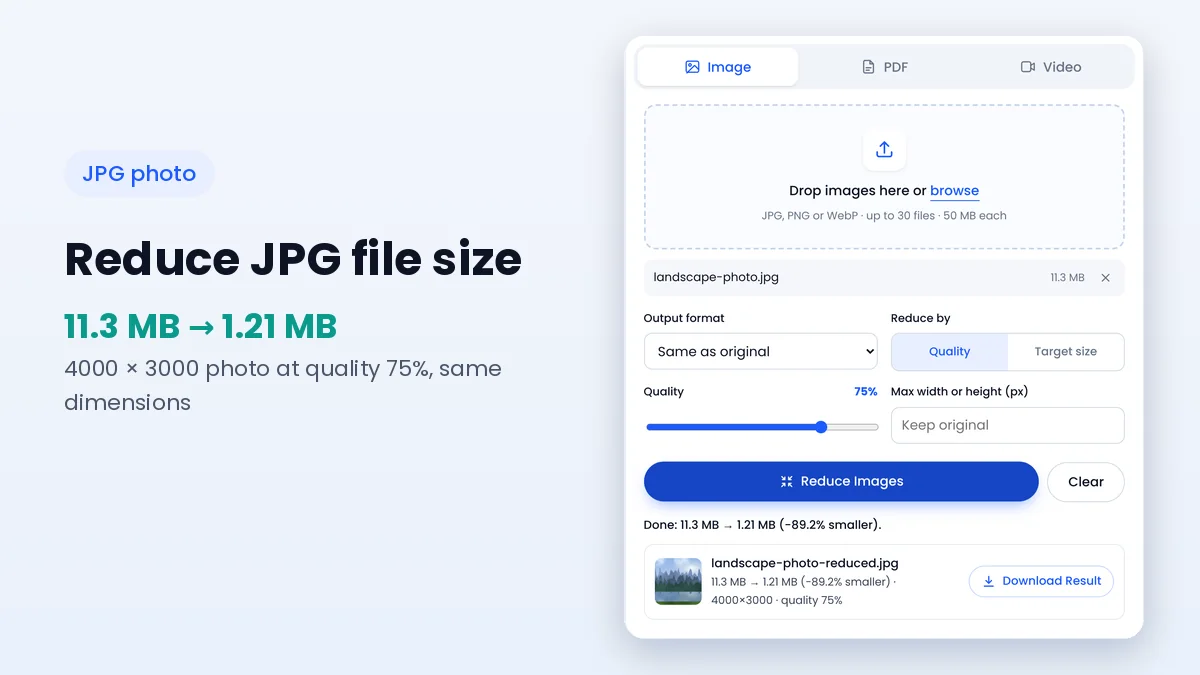
In a test with a 4000 × 3000 sample landscape photo saved at 95% quality, the default 75% setting reduced the file from 11.3 MB to 1.21 MB without changing its dimensions. Your own savings depend on the content and on how the original was saved.
Application portals and online forms often reject photos above a fixed size such as 100 KB or 500 KB. Switch Reduce by to Target size and type the limit in kilobytes. The compressor then tests quality values to find the highest one that still fits, so you never give up more quality than necessary.
When even the lowest quality is too large, the image is scaled down in small steps until it fits, and the result notes that it was resized. If the limit is simply impossible, a warning explains that the target could not be reached and shows the smallest result instead.
File reducer JPG compression works best as a two-step habit: resize the photo to the size it will really be shown at, then choose a quality between 70% and 85% for most everyday uses. That pairing keeps photos crisp while removing the megabytes that only matter for large prints.
For strict limits, the Target size mode does the trial and error automatically. Try it with your own photos in the image compressor, and read the image settings explained guide for a closer look at WebP and PNG output.
Keep learning how to make images, PDFs and videos smaller.
What a browser-based compressor can do for each file type, and what to expect from the results.
Read guideWhy scans are heavy, what the Light, Balanced and Strong levels change and when a PDF cannot shrink.
Read guideA close look at output formats, quality values and resizing so each image lands at the right size.
Read guide