PDF Compressor Guide: Making Scanned and Photo-Heavy PDFs Smaller
Why scans are heavy, what the Light, Balanced and Strong levels change and when a PDF cannot shrink.
Read guideFree file compressor tools promise smaller photos, documents and videos without paying for software, yet the results vary widely depending on the file type and the method behind the button. Knowing what actually happens inside each compressor makes it far easier to pick the right settings and judge whether a result is good enough to send.
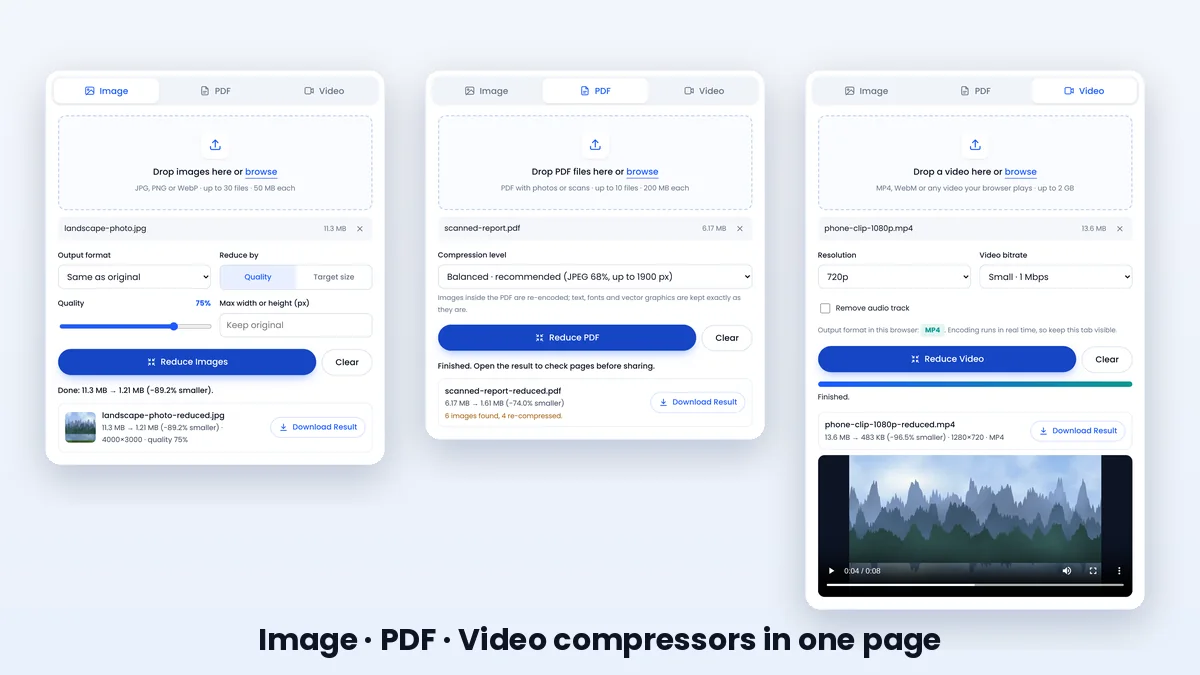
This overview explains how a browser-based compressor such as File Reducer treats images, PDFs and videos, what “free” should include, and how to check a reduced file before you share it.
Compression removes redundancy or detail so the same content needs fewer bytes. Lossless methods, such as ZIP archives or PNG images, rebuild the original data exactly. Lossy methods, used by JPG, WebP and modern video codecs, throw away details people are unlikely to notice in exchange for much larger savings.
Most of the dramatic reductions people want, like turning a 12 MB photo into a 1 MB one, come from lossy re-encoding. That is why a good compressor shows you the new size and a preview, so you decide where the balance between size and quality should sit.
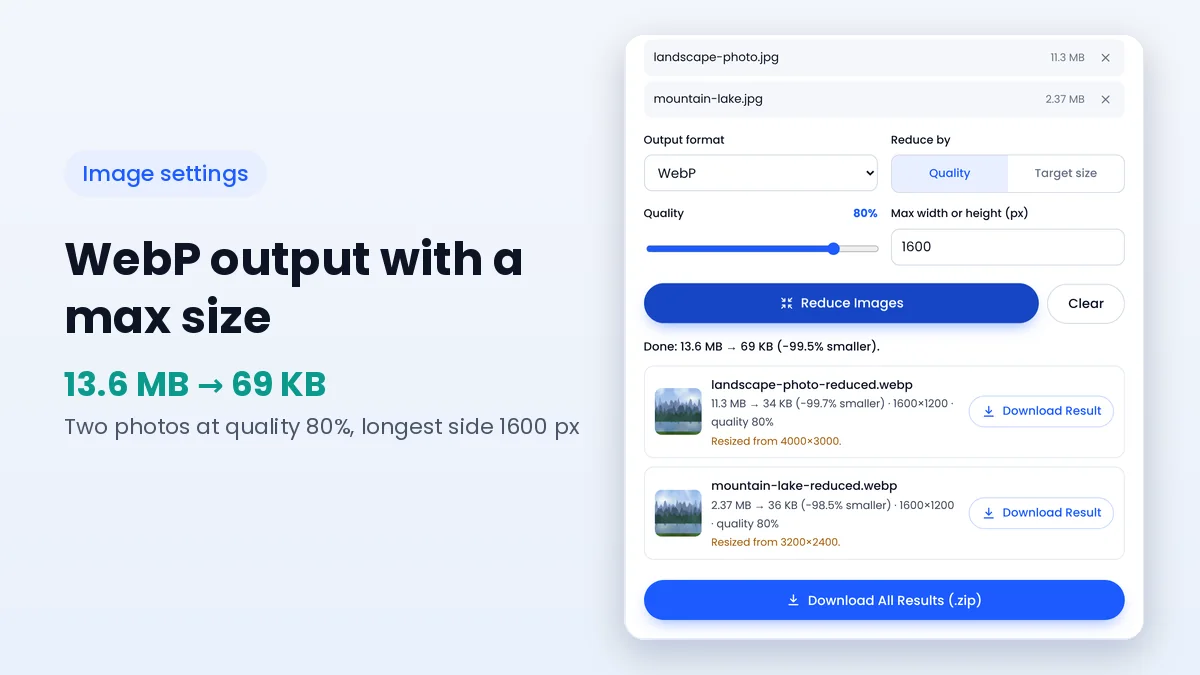
Images shrink through three controls: quality, dimensions and format. Lower quality simplifies fine detail, smaller dimensions reduce the number of pixels, and switching from PNG to JPG or WebP replaces lossless storage with far more efficient lossy storage for photos.
The File Reducer image compressor draws each picture on an HTML canvas and encodes it again with the browser's own JPG, WebP or PNG encoder. Hidden camera metadata is not carried over, which removes a few extra kilobytes and personal details such as GPS location.
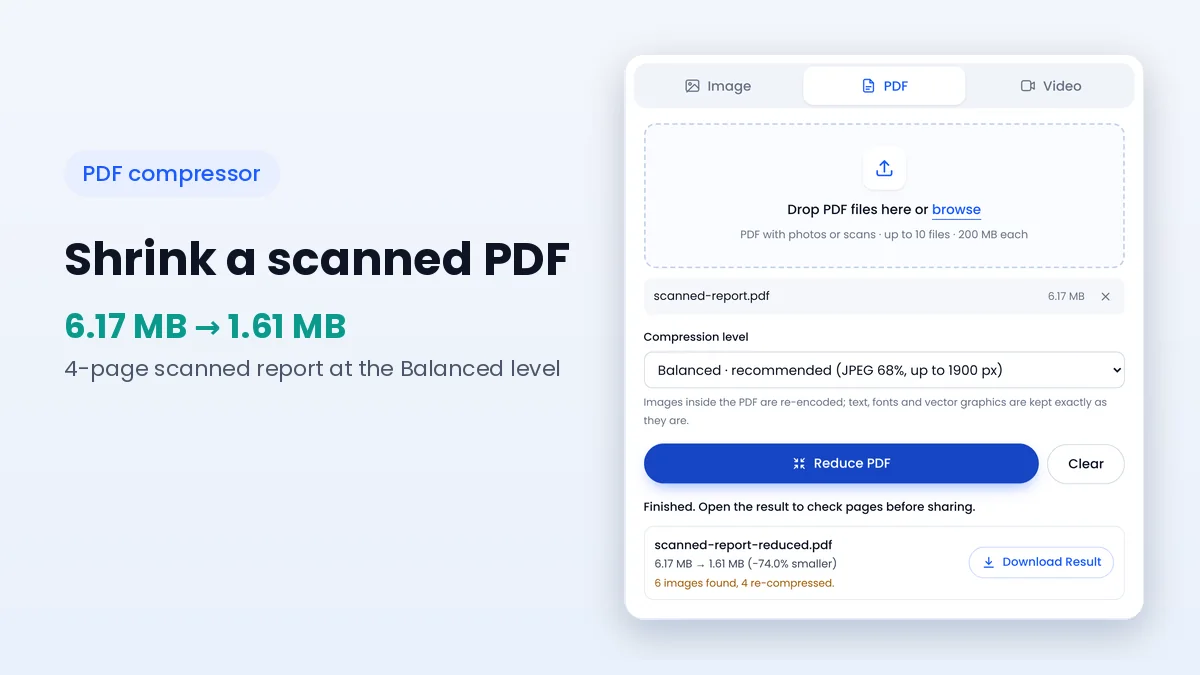
A PDF is a container for text, fonts, vector drawings and images. In most heavy PDFs, the images are the problem: scans and photos saved at high resolution can weigh several megabytes per page, while the text on the same page needs only a few kilobytes.
The PDF compressor on this site therefore targets embedded images. It re-encodes JPEG photos and 8-bit colour or grayscale images at the level you choose and rebuilds the file's internal index, leaving text and vector graphics exactly as they were.
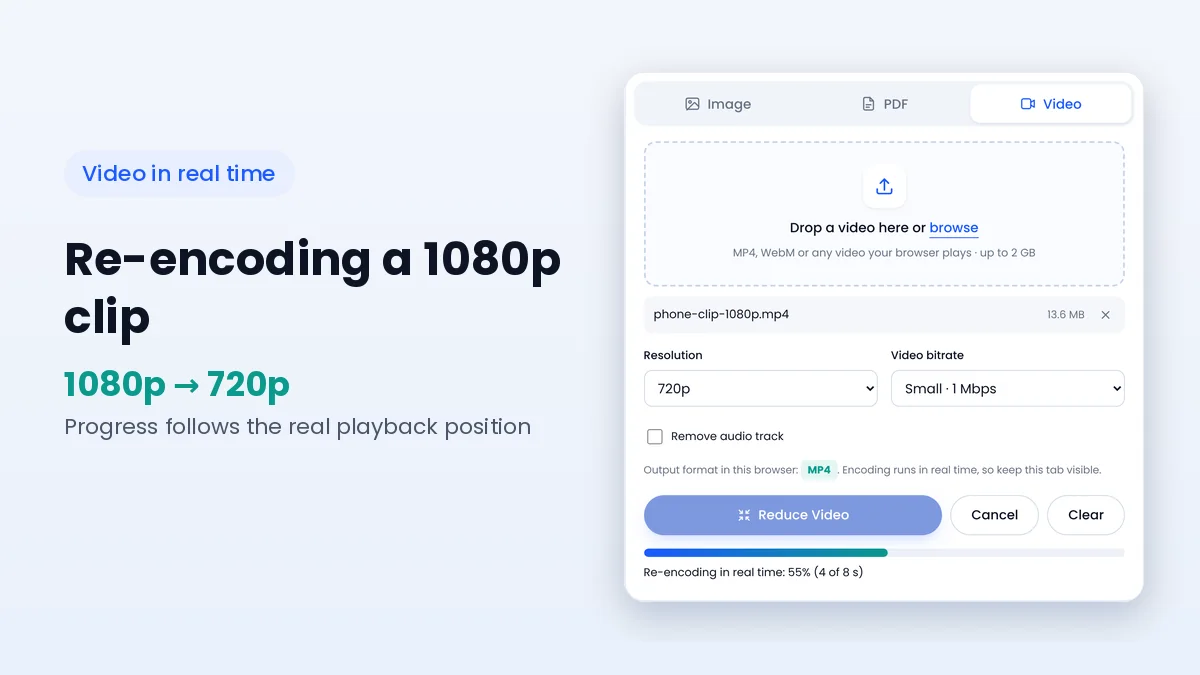
Video size depends mostly on bitrate, the amount of data used for each second, multiplied by the length of the clip. Phones often record at a high bitrate to protect motion detail, which produces large files even for short recordings.
In the browser, the video compressor plays the clip, redraws each frame at the chosen resolution and records it again with a lower bitrate using the MediaRecorder API. The process runs in real time, and the result is MP4 or WebM depending on your browser, as explained in the video compression guide.
| File type | Main size driver | Method used | Left untouched |
|---|---|---|---|
| Images | Pixel count and saved quality | Canvas re-encoding to JPG, WebP or PNG | Your original file on disk |
| Embedded scans and photos | Image re-encoding and index rebuild | Text, fonts, vector drawings, links | |
| Video | Bitrate × duration | Real-time re-recording at a lower bitrate | Your original clip on disk |
A free compressor is only useful when the free version produces files you can actually use. Watermarks, blurred previews and daily credit limits turn a quick job into a frustrating one, so it is worth checking these points before relying on any service.
Open every reduced file before sending it. For photos, zoom into faces, edges and skies; for PDFs, read the smallest text on a scanned page; for videos, watch a few seconds with fast motion. If anything looks wrong, run the original again with a higher quality or a gentler level.
Keep the original until the recipient confirms the file works. Compression is quick to repeat, but lost detail cannot be recovered from an already reduced copy.
The same file often needs different treatment depending on where it is going. A photo for a website benefits from WebP and resizing, while a scan for a government portal may need JPG or PDF under a fixed kilobyte limit. Starting from the destination keeps you from over-compressing files that only needed a small trim.
Lossless methods remain the right choice when every bit matters, such as source code, spreadsheets or archives of original photos. Zipping many small files can also make them easier to send as one attachment, even though the total size may only drop a little for already compressed media.
File Reducer has no paid tier, watermark or account. The processing power comes from your own device, so there is no server cost per file.
No. The original stays untouched on your device. The tool creates a new reduced copy that you download separately.
File Reducer covers JPG, PNG and WebP images, PDFs and videos your browser can play. Other formats such as audio files or Word documents are not supported.
Files that are already efficient, or PNG images saved again as PNG, can grow slightly. The tool marks those results so you can pick different settings.
Free file compressor tools work best when you understand what drives size in each format: pixels and quality for images, embedded pictures for PDFs, and bitrate for video. With that in mind, every setting in File Reducer becomes a deliberate choice instead of a guess.
Try the online compressor with one file of each type, compare the results, and keep the settings that fit your usual uploads. The online vs desktop comparison helps if you are deciding where browser tools fit in your workflow.
Keep learning how to make images, PDFs and videos smaller.
Why scans are heavy, what the Light, Balanced and Strong levels change and when a PDF cannot shrink.
Read guideA close look at output formats, quality values and resizing so each image lands at the right size.
Read guideReal-time re-encoding, resolution, bitrate and output formats explained in plain language.
Read guide