Why Is My File Still Too Large After Compression?
The real reasons files resist compression, and the settings that make the biggest difference.
Read guideCanva file compressor searches usually come from the same moment: a design looks perfect, but the downloaded PNG or PDF is too heavy for a client email, a website or an upload form. Design exports carry large dimensions, photos and sometimes print-quality settings, so they often need a second step before they are ready to share.
These tips cover choosing an export format, reducing PNG, JPG and PDF downloads in File Reducer and keeping text crisp. Canva is a trademark of its owner, and File Reducer is not connected with Canva.
Design tools export at the full size of the canvas, often 1080 × 1350 pixels for social posts or several thousand pixels for posters and presentations. PNG exports store those pixels losslessly, which is ideal for flat colours and text but very expensive for photographs placed inside the design.
PDF exports aimed at printing add another layer, embedding high-resolution images that look great on paper and far larger than a screen needs. A brochure built from several full-page photos can easily grow to many megabytes.
The format you download shapes how much compression is possible later. Depending on your plan, the download panel in Canva may also offer a quality slider for JPG or a compression option for PNG, which is worth using before any extra step.
| Design type | Export as | Then in File Reducer |
|---|---|---|
| Social post with photos | PNG or JPG | Convert to WebP or JPG at 80–85% quality |
| Logo or icon with transparency | PNG | Keep PNG and resize, or use WebP at 90% |
| Website banner | JPG | WebP at 75–80% with a 2000 px max side |
| Brochure or report | PDF tab at Balanced or Light |
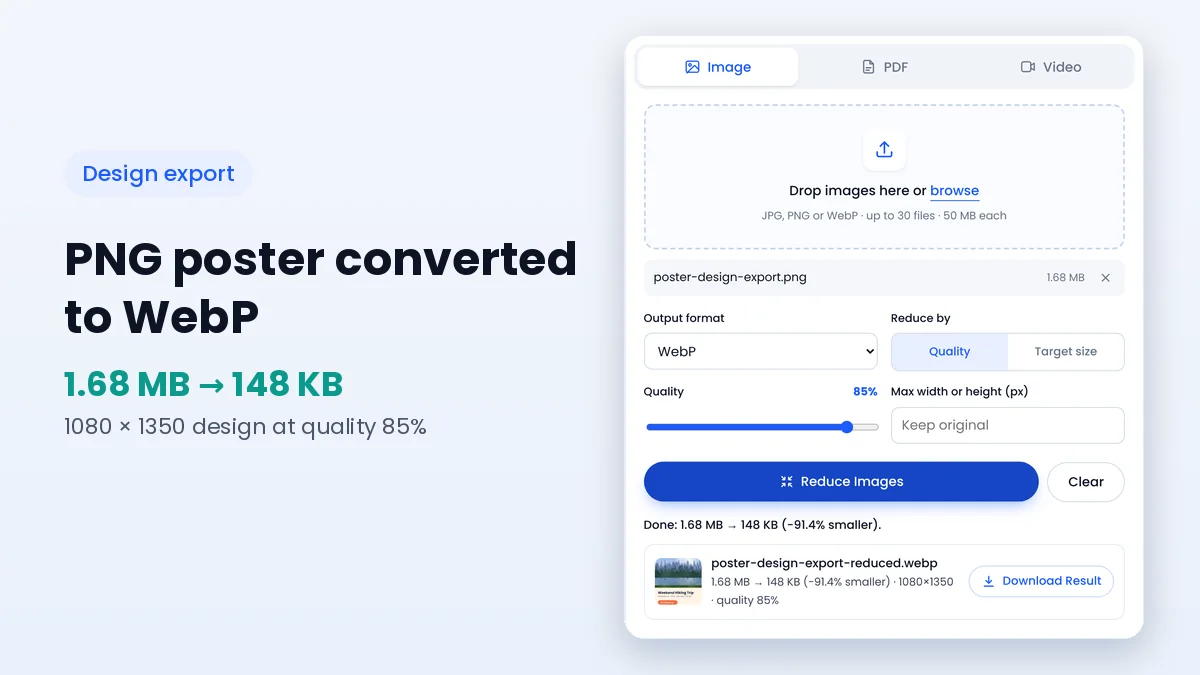
PNG exports shrink most when converted. In the Image tab, add the PNG, set Output format to WebP or JPG and keep quality around 80–85% so text edges stay clean. In a test with a 1080 × 1350 poster export containing a photo, converting to WebP at 85% quality reduced it from 1.68 MB to about 148 KB.
Choose WebP when the design has a transparent background, since JPG fills transparent areas with white. If the destination does not accept WebP, use JPG and make sure the background colour in the design is the one you want.
JPG exports are already lossy, so the main gains come from resizing and a moderate quality value. Set Max width or height to the size the design will really be shown at, keep quality between 75% and 85%, and avoid compressing the same JPG repeatedly.
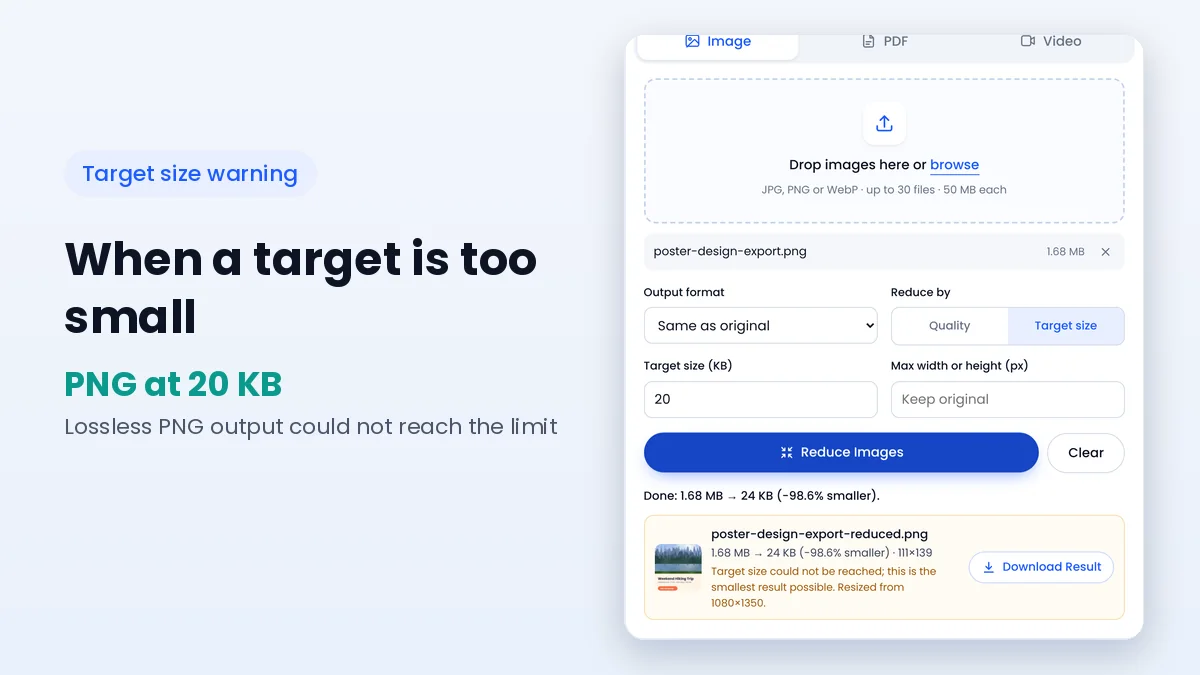
For forms with a strict KB limit, switch to Target size mode. The tool finds the highest quality that fits and only scales the design down when quality alone cannot reach the limit.
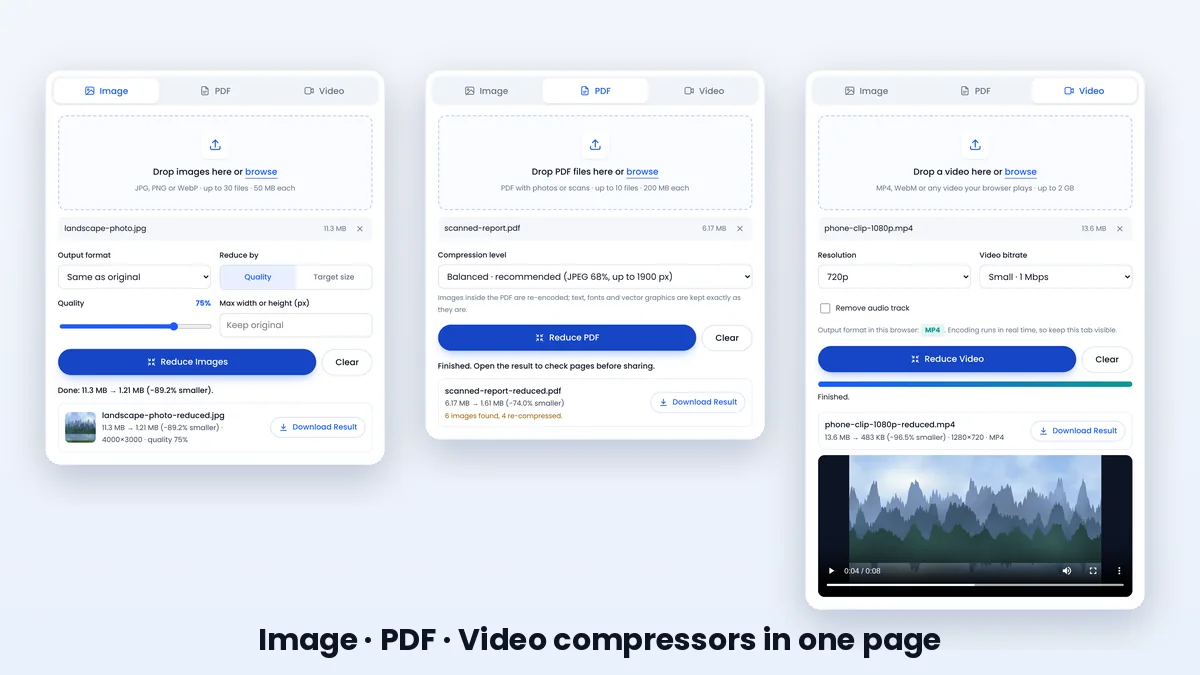
In the PDF tab, photos inside the design are re-encoded while text and vector shapes remain sharp, because they are copied without changes. Balanced suits email and screen viewing, while Light keeps more detail for documents that may still be printed.
Print-oriented PDFs sometimes contain CMYK images. These are left untouched to protect colours, so a print PDF may shrink less than a standard one. Exporting a screen-oriented PDF for sharing usually gives a smaller starting point.
Many designs are created at sizes larger than their final use. A presentation slide exported at a large size and then shown in a small email preview carries pixels nobody sees. Matching the export to its destination is the easiest saving of all, and it keeps text crisp because the compressor does not need low quality values.
When the destination size is unclear, a longest side of 1600–2000 px suits most screens, including high-density laptop displays. Social platforms resize uploads themselves, so a modest export avoids double processing that can soften text.
Social platforms compress every image they receive, so uploading an extremely large file rarely improves the final look. A clean export at the platform's usual dimensions, saved at around 85% quality, tends to survive the platform's own processing better than a heavily compressed or oversized file.
For carousel posts with several slides, process all images in one batch with the same settings. The ZIP download keeps them together, and consistent settings keep colours and sharpness matched across every slide.
No. File Reducer is a separate browser tool. It works with PNG, JPG and PDF files downloaded from any design application, including Canva.
At 80% quality or higher, text in images usually stays clean. In PDF exports, real text is not changed at all.
Yes. Choose WebP or PNG output. JPG does not support transparency, so transparent areas become white.
WebP at 75–85% quality, resized to the displayed width, usually gives the best balance between sharpness and size.
Canva file compressor needs are usually solved in two moves: export in a sensible format, then convert or resize the download for its destination. WebP handles most screen designs well, JPG covers strict compatibility needs, and the PDF tab trims photo-heavy documents while keeping text crisp.
Add your latest design to the image compressor to see the difference, and read about image settings to fine-tune format and quality.
Keep learning how to make images, PDFs and videos smaller.
The real reasons files resist compression, and the settings that make the biggest difference.
Read guideQuality values, resizing and target-size mode explained for photos that need to fit an upload limit.
Read guideWhat a browser-based compressor can do for each file type, and what to expect from the results.
Read guide